Showing posts with label How to Knit. Show all posts

Friday, June 5, 2015

How To Knit: Knitting Fork or Lucet Tutorial

Breaking out my knitting fork (also known as a lucet) again and trying out some new things for my shop. Keep an eye out for these new items to be added later today!

Here is my knitting fork video tutorial for all of you....


Samples of the two different types of cord
you can make with a knitting fork.

Knit jewelry now available in my shop!
Click here to check it out!


Happy Crafting!


Monday, October 13, 2014

How To Knit: Selvedge Stitch

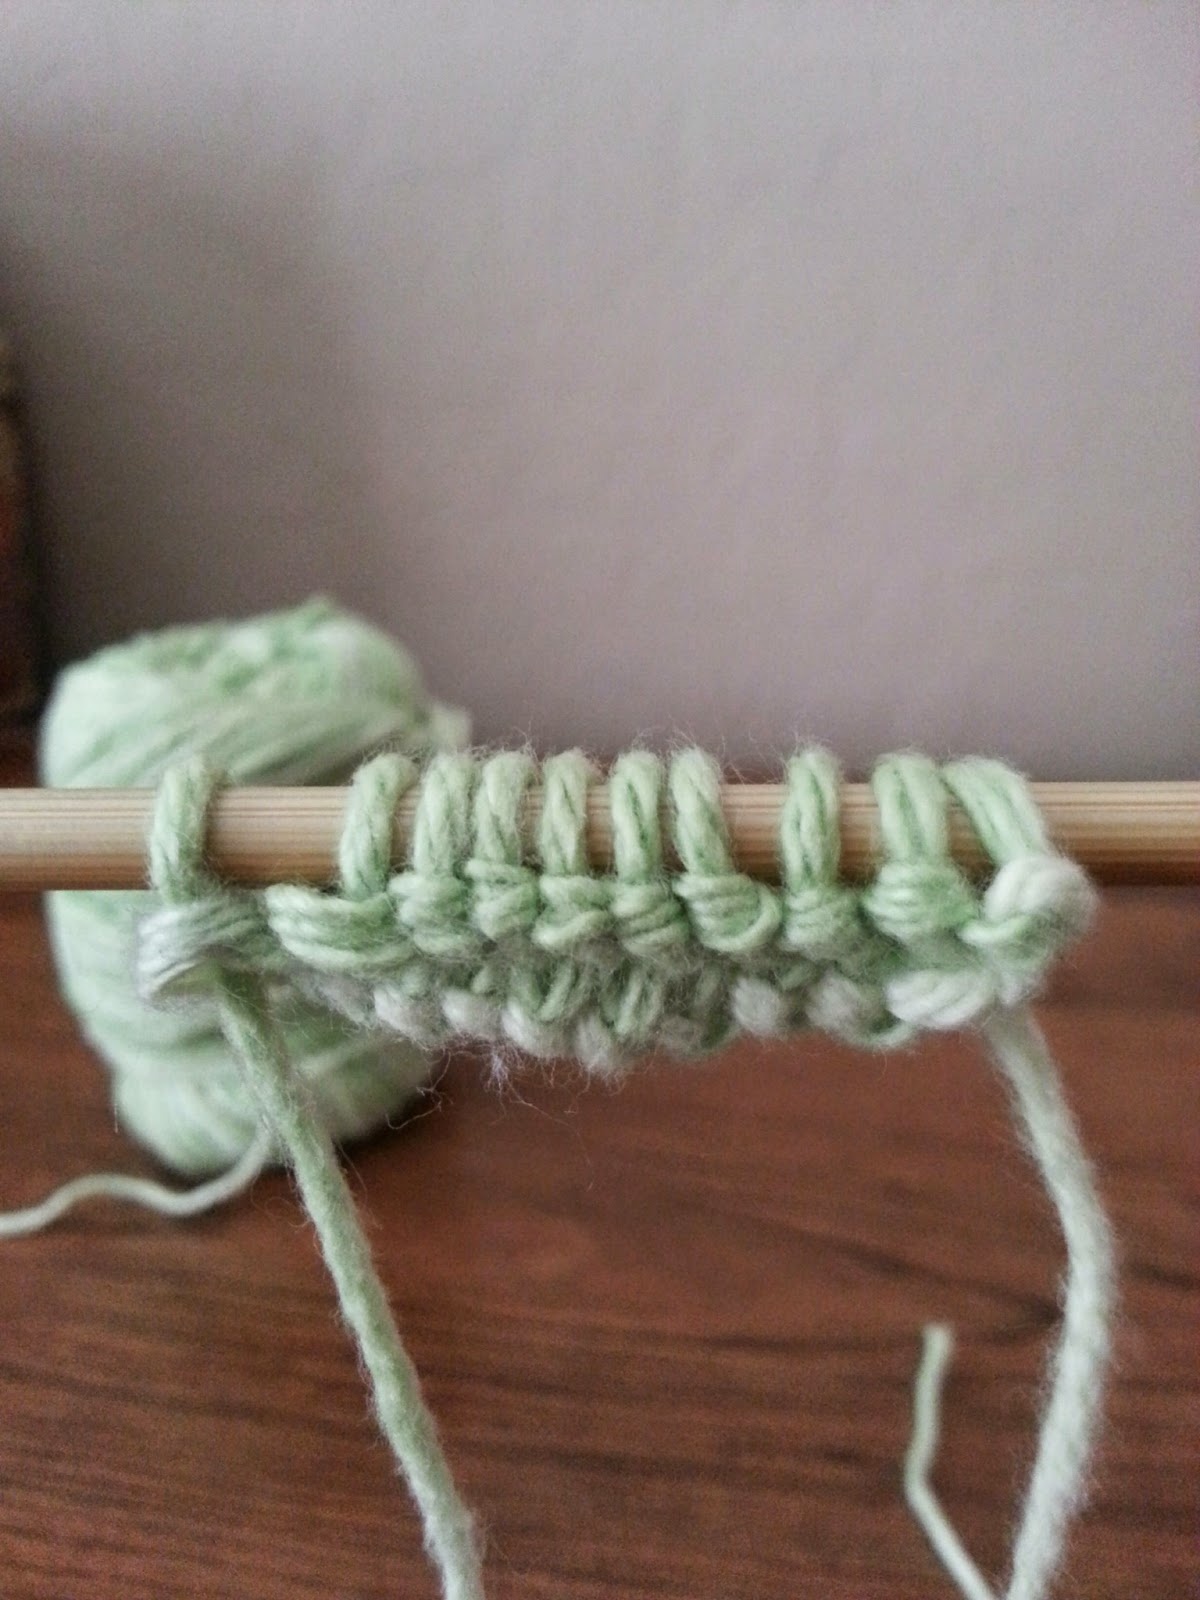
Having completed my most recent knitting projects, I was looking through Pinterest to find inspiration for my needles. I found a cute little project that wouldn't take long to knit up. I decided to give it a go. However, there was something in the instructions that I had never done (I'm always up for a challenge!), a selvedge stitch. The selvedge stitch is done with the first stitch of each row to create a neat edge on your work. From my google search of selvedge stitch there are a few different styles and ways you can do it. This is the way I learned...

Step 1: With the working yarn facing you, slip the first stitch knit wise.


Step 2: Take the working yarn and place it behind your work
(between the first and the second stitch).
Knit the rest of the row as normal.


Continue these two steps for for all rows to create a neat edge.

Happy Crafting!

Friday, September 19, 2014

How To Knit: Switching Needle Lengths

If you ask my husband he will tell you that I'm very smart or creative but sometimes it takes me a time or two to figure out an easier way to do things. This was one of those times....

Now if you follow me on Twitter or Instagram you've seen glimpses of this blanket that I'm working on. Thankfully I'm almost three-quarters of the way done. For this blanket I've been switching between two different sets of circular needles. If you're unfamiliar with the types of knitting needles check out my blog post here. Both size US 10 - one 16" and one 48". 

While working on the first half of the blanket going from shorter to longer I painstakingly transferred each stitch over to the longer needles. When getting closer to getting ready to transfer back to the shorter needles an amazing thought occurred to me. Instead of just moving them over (and possibly twisting them in the process) I can knit them onto the other needles. I admit I felt like a genius lol. It was so much simpler this way! After finishing a row I took the longer needles with all the stitches in my left hand and the empty shorter needles in my right hand and knit the next row.


Happy Crafting!

Saturday, September 6, 2014

How To Knit: Unknitting - To Correct Knitting Mistakes

I have been knitting now for about three years. However, I am not perfect and I make mistakes (more then I care to admit!). In your own knitting journey, you too will make mistakes. Below is a video tutorial on the easiest way I've found to fix my knitting mistakes (especially for having to take out an entire row or multiple rows).

When I first started knitting I would take all of the knitting off the needle and pull on the working yarn, until I got to the point past my mistakes, and reinsert the needle into the stitches. However, that technique did not always work very well and would often cause more problems. I would end up taking more stitches out then intended and have to re-knit those stitches. Or somehow I would lose extra stitches in the middle of a row and be forced to undo even more rows. Or once I got the stitches were back on my needles they were twisted and very hard to work with. I was very thankful once I figured out how to unknit (I'm not sure if anyone else uses this technique or has a name for it but I call it unknitting). It's so much simpler than taking everything off the needle and trying to pull just the right amount of stitches out. 


Here is my Unknitting video!


Happy Crafting!

Thursday, August 28, 2014

How to Knit: Get Rid of Your Knitting Tail

Picture this... you go to start knitting a large item, such as a blanket, you aren't sure how much yarn to use to cast on, so you pull out lots of yarn. After casting on you start to knit, only to realize that you started knitting with the tail instead of the working yarn. So you have to take everything out and start again. Sure, you can cut the tail so it isn't as long but wouldn't it be even better if you could get rid of the tail and not have to worry about it??? Hopefully you said yes! Here is a great way to get the tail out of the way and not have to worry about it!


Happy Crafting!

Thursday, August 14, 2014

How to Knit: The Russian Join

It's wonderful if one skein (ball) of yarn is enough for your project but what happens when you want that scarf a little longer or that blanket just isn't big enough? How do you add more yarn? You could go the obvious way and just knot the two ends of yarn together. However, that isn't pretty and doesn't always stay in place. If you know me I'm a big fan of pretty! If I don't like the way it looks I'm redoing it! (Yes, I'm a bit of a perfectionist. At least when it comes to cleaning teeth and knitting!) So what is a girl seeking pretty and (close to) perfect to do? The Russian join!

I first found the Russian join on Pinterest. When I saw it I thought it looked horribly complicated and like I would never be able to do it. But it is surprisingly simple to do and I'll teach you how!

Six simple steps to the Russian join:


So I'm working on this beautiful blue blanket for a beautiful little boy.
It's the biggest blanket I've made to date.
What am I to do when I reach the end of a cone of yarn but I'm not done knitting?
The Russian join, of course, to add in a new cone of yarn!


Step 1: Thread one end of yarn
(for me this one come off the blanket)
into a blunt tapestry-type needle.


Step 2: Insert needle into the plies of yarn for an inch or two.


After working the needle through the yarn,
it will look scrunched up like this.
Pull the needle all the way through leaving a loop at the top.


Remove the yarn from the needle and place it in the loop.


Step 3: Pull the main yarn down,
leaving the needle in the loop to attach the new yarn.


Step 4: Thread the new yarn through the needle.


Step 5: Pull the new yarn through the loop of the joined yarn.
Now take the needle and work it through the plies of the new yarn
(Like we did in step 2 with the original yarn).


Step 6: Tug on both of the joined yarns to smooth out any bunching
And trim any excess yarn off.
Now time to finish this blanket now that I've added the yarn :)

Happy Crafting!

Friday, August 1, 2014

How to Knit: Rib Stitch

The rib stitch is one of my favorite stitches. It creates a soft and thick knit and is AWESOME for scarves! I've used the rib stitch for two previous scarves I've made Fringe Scarf and Thyroid Cancer Scarf. The best part about the rib stitch is that it is simple to do! Just knit one, purl one, knit one, purl one (until the end of the row), turn and continue. The key is to making sure you cast on an even number of stitches.

Start with a knit stitch.

After completing the knit stitch you will need to move the yarn 
to the front of your needles for your purl stitch.
I use the middle finger of my left hand to do so.

Now that your yarn is in front of your needles, purl the next stitch.

Purl and move the yarn to the back of the needles.

With the yarn behind your needles knit your next stitch.


With yarn in front purl the next stitch.

After doing this a few times you will start to see the pattern emerge.
Become familiar with the pattern.
Soon you will be able to tell from looking which stitches are knit and which are purled.

Recognizing knit and purl stitches are important.
So if you set your knitting down in the middle of a row,
you know what stitch to continue with ;)

Here is what the rib stitch looks like after a few rows.
The knit stitches are what you primarily see unless you spread it out as pictured.
The purl stitches hide in between the knit stitches.

And that's the rib stitch. Great for a blanket or scarf. Now that you've learned a new stitch... go knit!

If you're new to my How To Knit series you can find my previous tutorials here:


Happy Crafting!

Thursday, July 10, 2014

How to Knit: Stockinette Stitch

Stockinette stitch is one of my favorite stitches. I love the way it looks the same on one side. The only down side is that if you don't use some sort of border around the stockinette stitch the edge will curl. You could block your knitting to try and prevent this but blocking isn't something I've done yet for my knitting.

Odd Rows:
You begin with the knit stitch for the entire row.
You can find my tutorial for the knit stitch here.


All odd numbered rows will be knit.
(1, 3, 5, etc)


Even Rows:

All even rows will be purled.
You can find my tutorial for the purl stitch here.


Alternating between one row knit and
the next knit will make the purl side look like the picture above.


And the knit side will look like this.


Happy Crafting!